Introduction to writing emails
If you don't have access to your email list yet click here
There are two ways to create an email on Action Network 'drag and drop' or 'Visual/HTML'.
The AN training team support the use of 'drag and drop' for various reasons, but mostly because it provides layout control and features such as buttons, without you needing any html skills.
So the first thing to set up is to...
Change your default email sending style to drag and drop
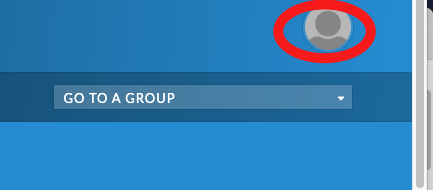
- Click on your profile icon in the top right
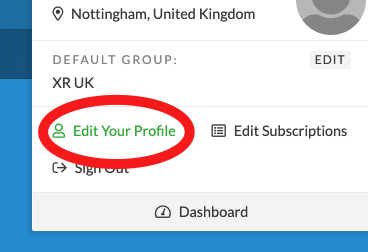
- Edit your profile
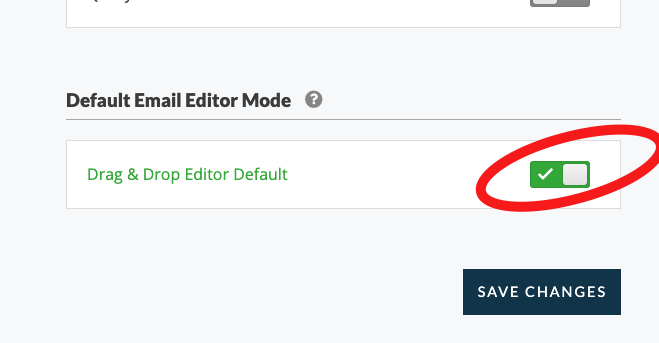
- Scroll to the bottom of the page and switch the toggle to 'drag and drop' and then 'save changes'
Writing your email
Go to the right hand side menu and pick 'Email'
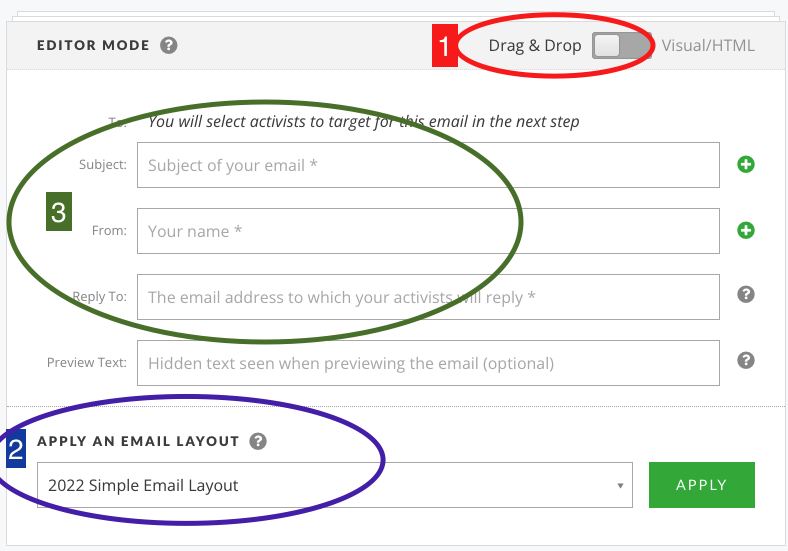
See image below for the next steps...
1: Skip this if you've changed your default settings as instructions above.
2: You should see the default template layout here - if not contact the Action Network Team.
3: Complete the following... Subject - a simple 5ish word title, From - your group name e.g. XR Sheffield and Reply To - your public email for people to reply and ask questions.
3b. Also you should complete the Preview text with some extra words of encouragement. This can be about 10 words long and it will show up on some people's phones before they open the email. So think of it as some extra bit of information to tempt them in to opening it.
4: Then write your email. The safest way is to type straight in to here. If you copy and paste from a Word or Google doc, the formatting can also copy over which creates problems. Either copy from a plain text editor or paste without formatting. Help on how to do this
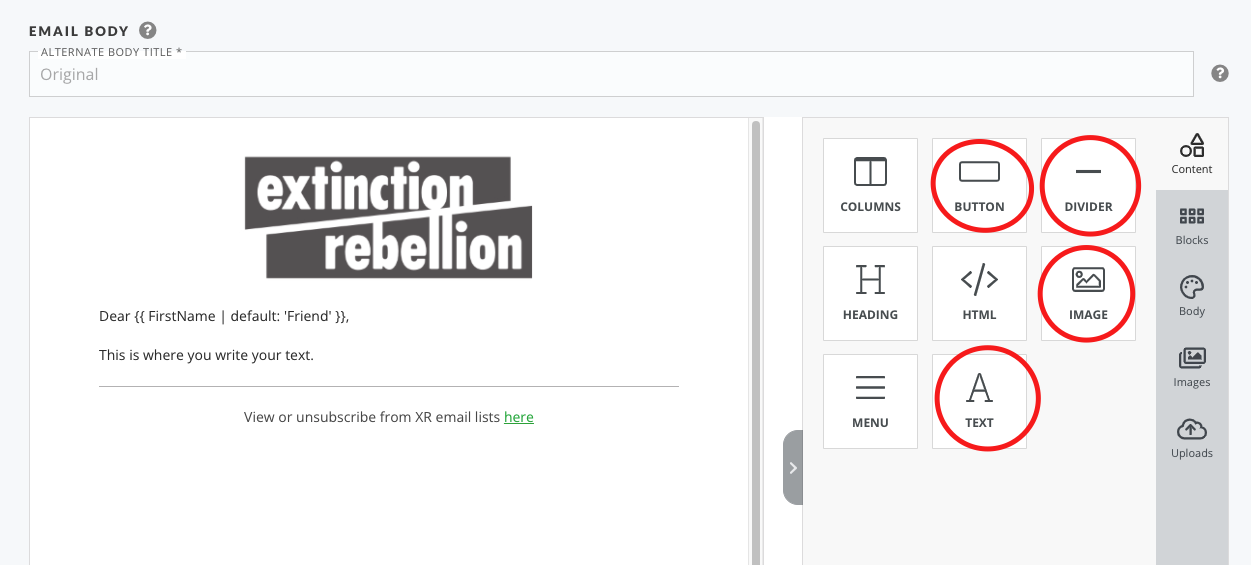
5: Adding extra content boxes. The most common things to add would be the items circled in the following image. You drag them over to your email layout and use them as you wish.
6: You may now want to add a photograph or graphic either at the top or within your email - details of how to add images here
Send and Target your email
First you can send yourself a test email. It is always good to check your email on a phone as well as on a computer to see what it looks like. Or test to different emails as the layout can vary. Or you could also send to a friend to proof read.
When you are happy with your email - click 'SAVE AND TARGET YOUR EMAIL'
You can now see the targetting page. You can just skip this and click SAVE, PREVIEW and SEND. If you want to know more about targetting - it's the same as when doing Reports
The next page shows a preview of your email. Scroll down to the bottom and you will see Action Network calculating how many 'activists' to send to.
When it's finished you'll see how many activists you are about to send the email to. You can now either schedule (note minus 5hrs due to this being EST) or just send immediately.




No Comments